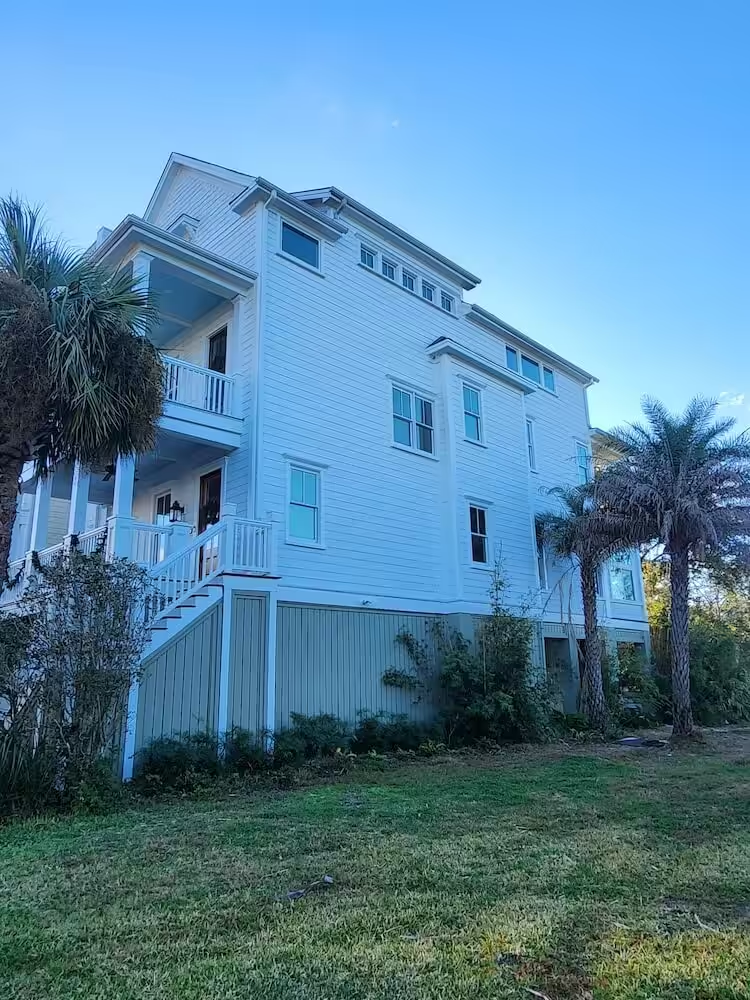
Paint does not stop rot. It hides it for a season, and the new coat usually fails first at that exact spot.
Wood rot repair before painting follows a fixed order: stop the water that caused the decay, consolidate or replace the soft wood, let the area dry, then prime and paint. Skip a step and you pay for the paint job twice.
Can you paint over rotted wood?
No. Rot is decay caused by fungi feeding on wood that stays wet, and a coat of paint does not dry that wood out. The EPA’s guide to mold and moisture is blunt about the related problem: do not paint or caulk moldy surfaces, because paint applied over them is likely to peel.
Sherwin-Williams gives the same warning about damp wood in its exterior application FAQ: too much moisture in the substrate will most likely lead to peeling. Soft, wet wood is the worst substrate a painter can be handed.
Mistake 1: treating rot as a paint problem
Rot is a water problem that shows up in the paint. Before anyone picks up a putty knife, find out why that board stayed wet. The usual suspects are easy to check from the ground:
- a gutter that overflows or ends right above a corner board;
- failed caulk at the top of a window or door casing;
- missing flashing where a roof line meets a wall;
- sprinklers that hit the siding every morning;
- trim, siding or porch posts sitting in mulch, soil or on concrete.
Fix the wood without fixing the water and the new wood starts the same cycle. The EPA puts it in one line: the key to mold control is moisture control.
Mistake 2: probing only the spots that look bad
Rot spreads inside the board before it shows on the surface. Peeling paint and dark stains point to it, but the reliable test is pressing an awl or a small screwdriver into the wood. Sound wood resists. Rotted wood lets the tip sink in with little pressure.
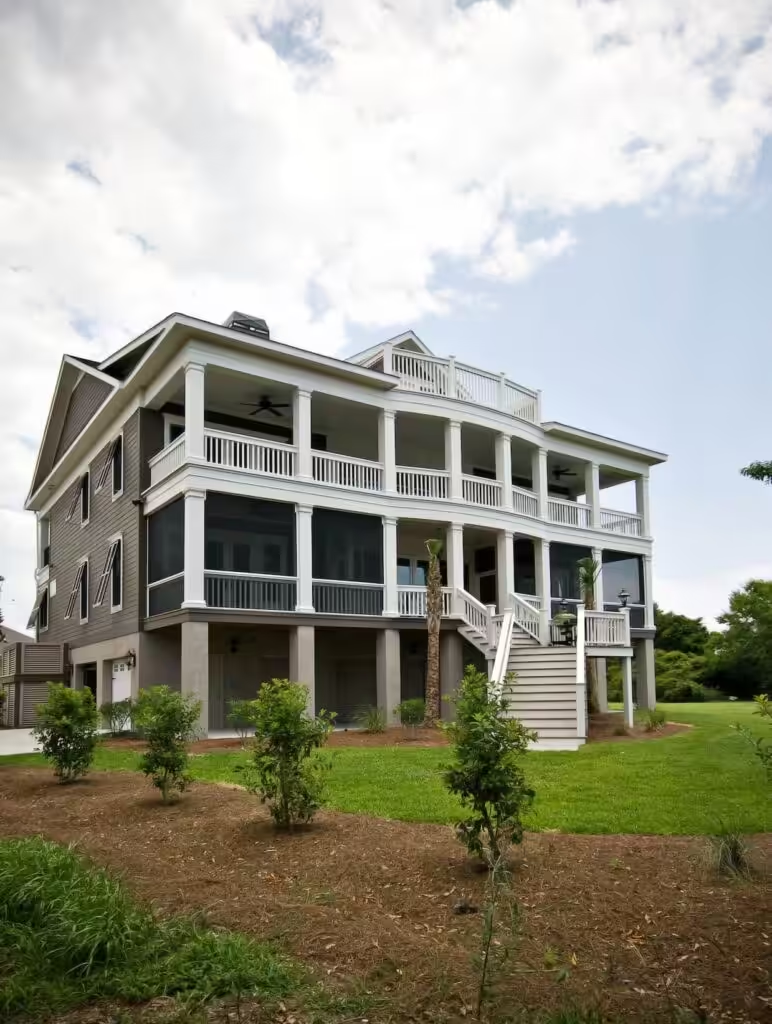
Homes with stacked porches, like this Kiawah Island estate from our portfolio, have dozens of railing caps, post bases and porch-ceiling edges. Each one is a place where rainwater can sit after a storm, so each one deserves a probe before the paint goes on.
Printable checklist: where to probe before an exterior repaint
Print this list and walk the house with an awl, a flashlight and a roll of painter’s tape to mark every soft spot.
- Window sills and the bottom rail of each sash
- Bottom 12 inches of door jambs and door casing (brick mold)
- Bottom of every corner board
- Fascia under gutter ends and at roof valleys
- Trim where a roof edge runs into a wall
- Porch column bases and the underside of column caps
- Railing caps, balusters and the bottom rail of each railing
- Stair treads, risers and the ends of stair stringers
- Porch ceiling boards near the outer edge
- Siding and trim within a few inches of soil, mulch or a concrete slab
- Garage door jambs and the trim around the garage door
- Any spot where paint has blistered, bubbled or turned dark
Mistake 3: patching wood that should be replaced
A repair can work when the soft area is small, the rest of the piece is sound and the part does not carry weight. A window sill with a soft corner or a casing with a rotted bottom inch is often a candidate.
Replacement is the safer call when the soft area runs through the piece, when you can push the probe in along most of its length, or when the part holds something up. Porch posts, stair stringers, railings and anything framing a structure belong in that group. For those, bring in someone who does structural carpentry.
Epoxy consolidants exist for the in-between cases. Abatron’s LiquidWood and WoodEpox instructions describe impregnating rotted, spongy wood so it becomes a framework that is stiffened and consolidated, then rebuilding the missing shape with an epoxy filler.
Mistake 4: filling wet wood
Every repair product needs dry wood. Abatron’s instructions call for a wood moisture content below 17% and note that moisture limits how deep the consolidant can penetrate. The same instructions suggest drying the wood with heat or ventilation first.
A pin-type moisture meter answers the question in seconds. In the Lowcountry, plan for it: NOAA’s 1991–2020 climate normals for Charleston show 6 to 7 inches of rain a month from June through September. After a soaking rain, Sherwin-Williams recommends waiting at least a full day, and longer if the surface is still damp.
Mistake 5: priming the face and forgetting the end grain
New boards fail at the ends first. End grain soaks up water far faster than the face of a board, and cut ends are exactly where trim meets a sill, a step or another board.
Prime every side of a replacement piece before it goes up, including the cut ends and the back. Then caulk the joints that would let water in from above, and leave the bottom edges of siding and trim free to drain.
Mistake 6: sanding old paint without lead-safe practices
Rot repair means scraping and sanding the paint around the damage. If the house was built before 1978, that paint may contain lead. The EPA’s Renovation, Repair and Painting Rule requires anyone paid to disturb painted surfaces in pre-1978 homes to be certified and to use lead-safe work practices.
Homeowners working on their own house are generally outside that rule, but the dust is just as harmful. The EPA’s National Lead Information Center (1-800-424-5323) can tell you how to work safely.
What rot means if you’re selling in South Carolina
South Carolina’s Residential Property Condition Disclosure Act requires most sellers to give buyers a disclosure statement. Under Section 27-50-40, that statement covers present infestation of wood-destroying insects or organisms, past infestation whose damage has not been repaired, and the home’s structural components.
Fresh paint over a soft sill does not change what you know about it. Repairing the damage, and keeping the invoices and photos, gives you something better to show. Your agent or attorney can tell you how it applies to your sale.
Where rot repair fits in an exterior paint job
On a repaint, the order is: inspect, stop the water, repair or replace, let the wood dry, prime bare wood and patches, caulk, then paint.
Rot often turns up only after scraping starts or the ladders go up, so ask about it before you sign. Our list of questions to ask before you hire a painter covers how to put it in writing.
What a repaint with rot repair costs depends on how much soft wood turns up, whether pieces are repaired or replaced, how high the work is, and how much of the house needs scraping and priming.
If you are planning a repaint, our page on exterior house painters in Charleston explains how VMS Home Painting approaches the job, and you can ask for a free, no-obligation estimate there.